Quick Start
From creating an org to a running world!
Creating an Organization
If you are accessing the MSquared dashboard and your account is not tied to any organizations, the home screen will look like this:
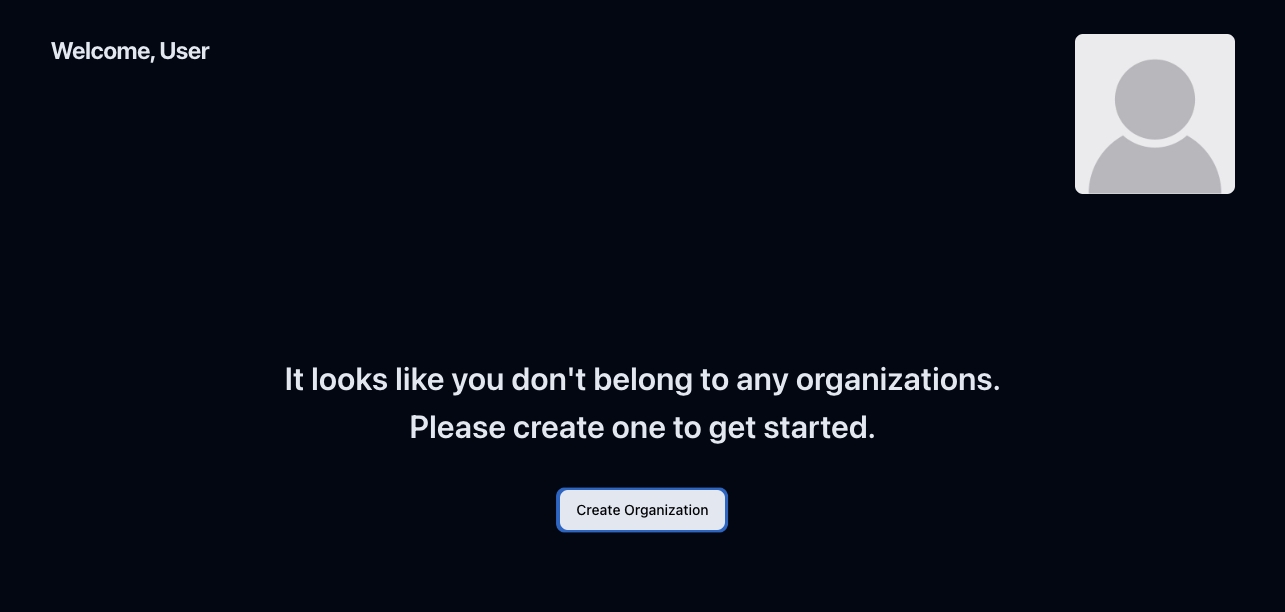
When you click Create Organization, a modal window will pop up, and you can enter an organization name.
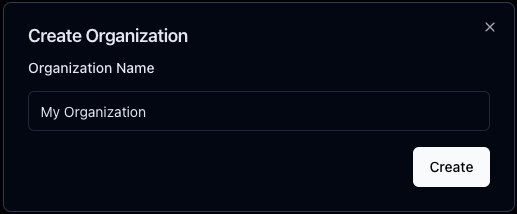
Click on Create, and congratulations; you have created your first organization! To learn more, visit our Organization section. You will be redirected to your organization's projects page.
Creating a Project
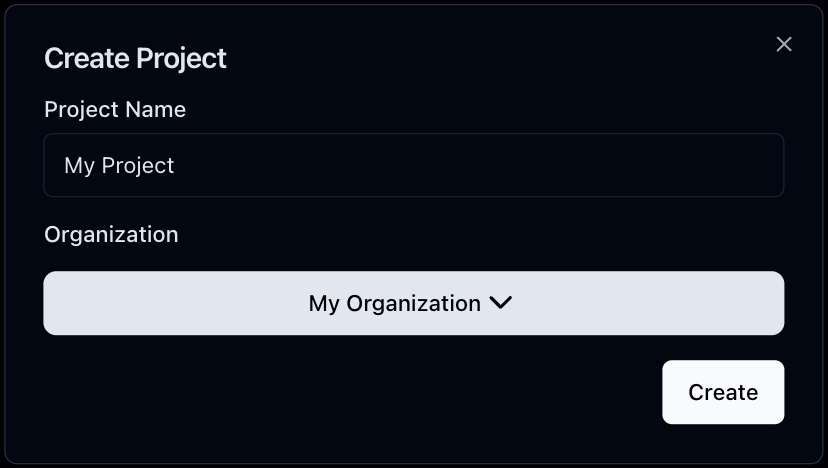
Projects are necessary to create Worlds and Objects and are tied to organizations; select the organization you created earlier from the dropdown to proceed.
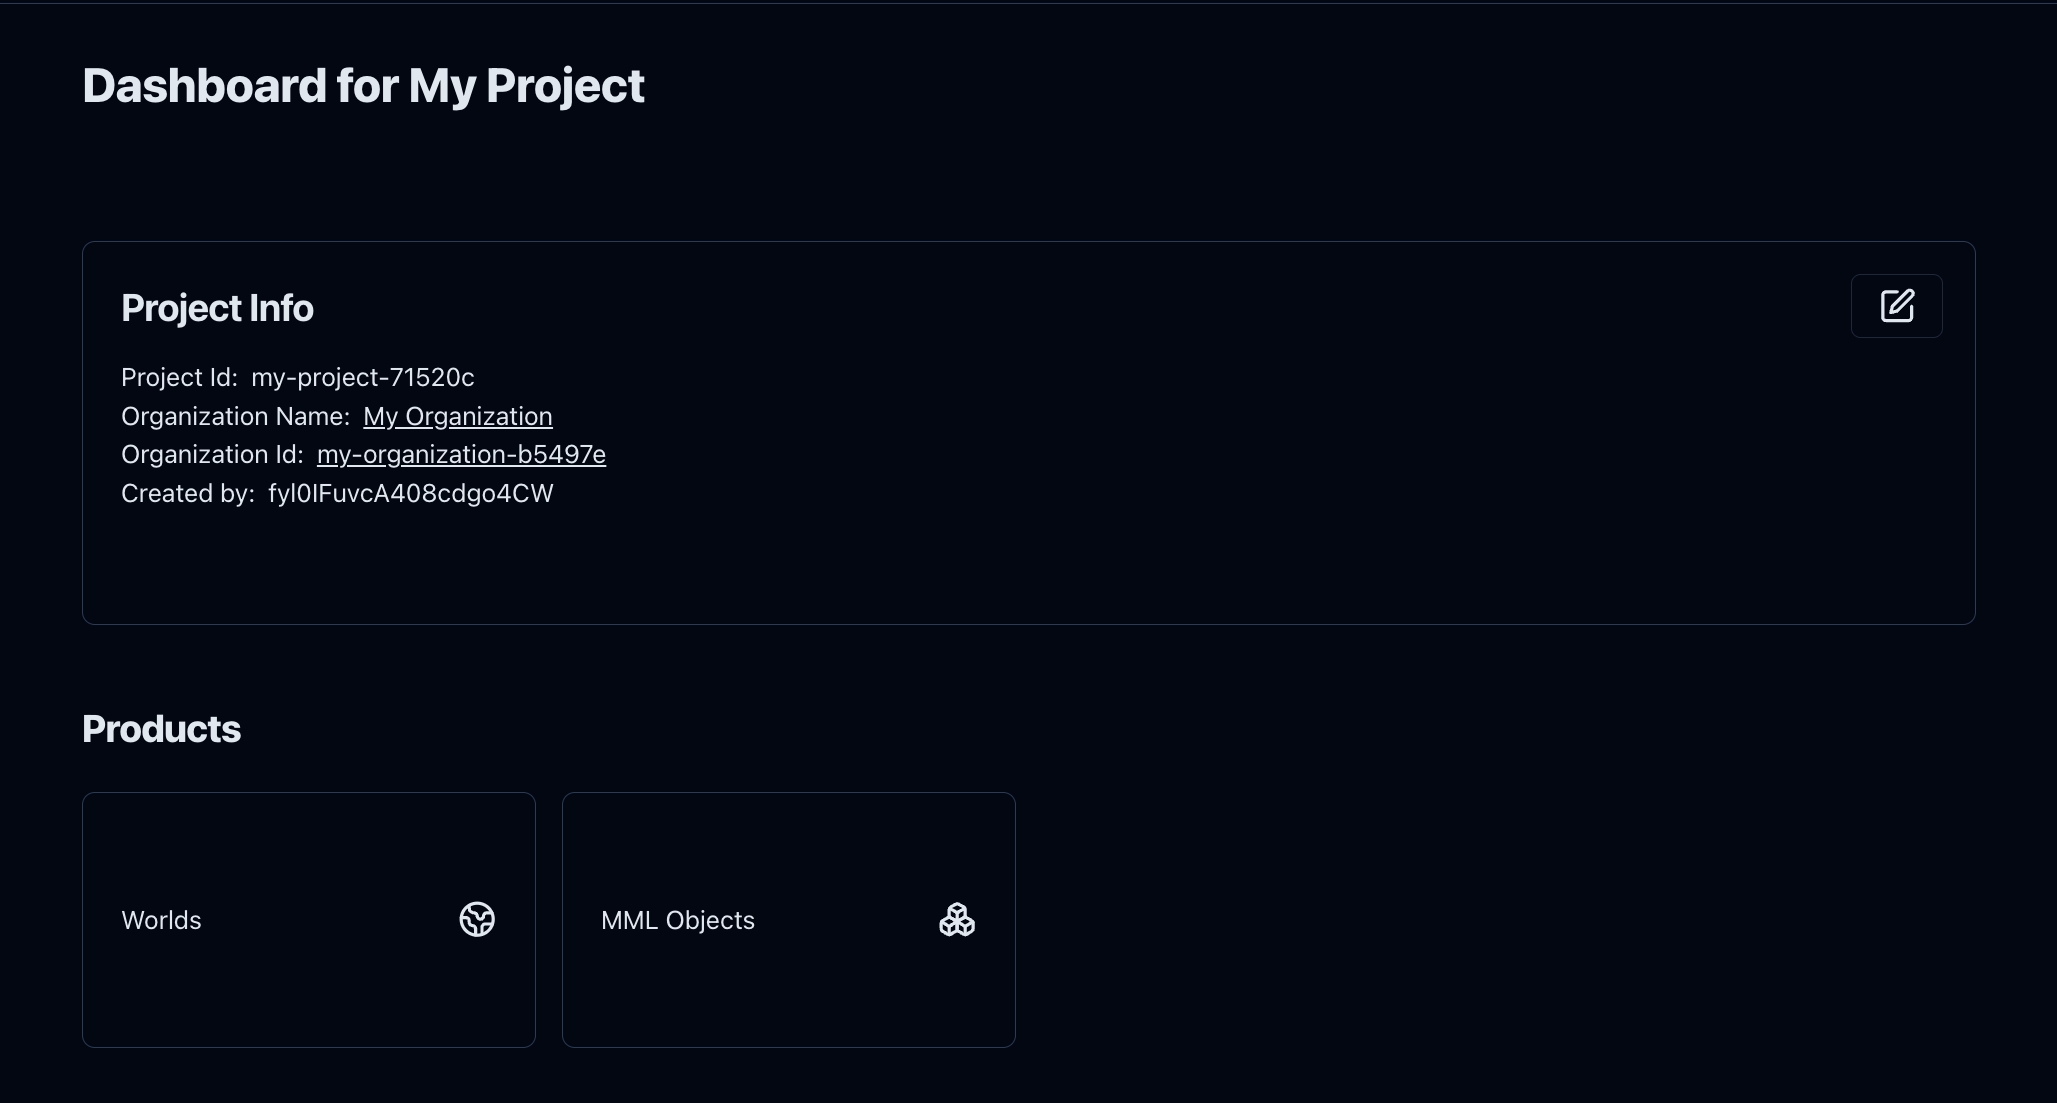
You will find yourself in your project dashboard. Here, you will find the different MSquared products you can use for your project. Click Worlds to create your first world.
Creating a World
If this is your first time here, the page will be empty. Click Create World and enter the name you want to give your world. Don't worry too much about it; you can change it later.
You will be redirected to the world configuration page. Here, you can change several settings for your experience, from authentication to some graphics settings. You will find more information about all the different options in Edit World.
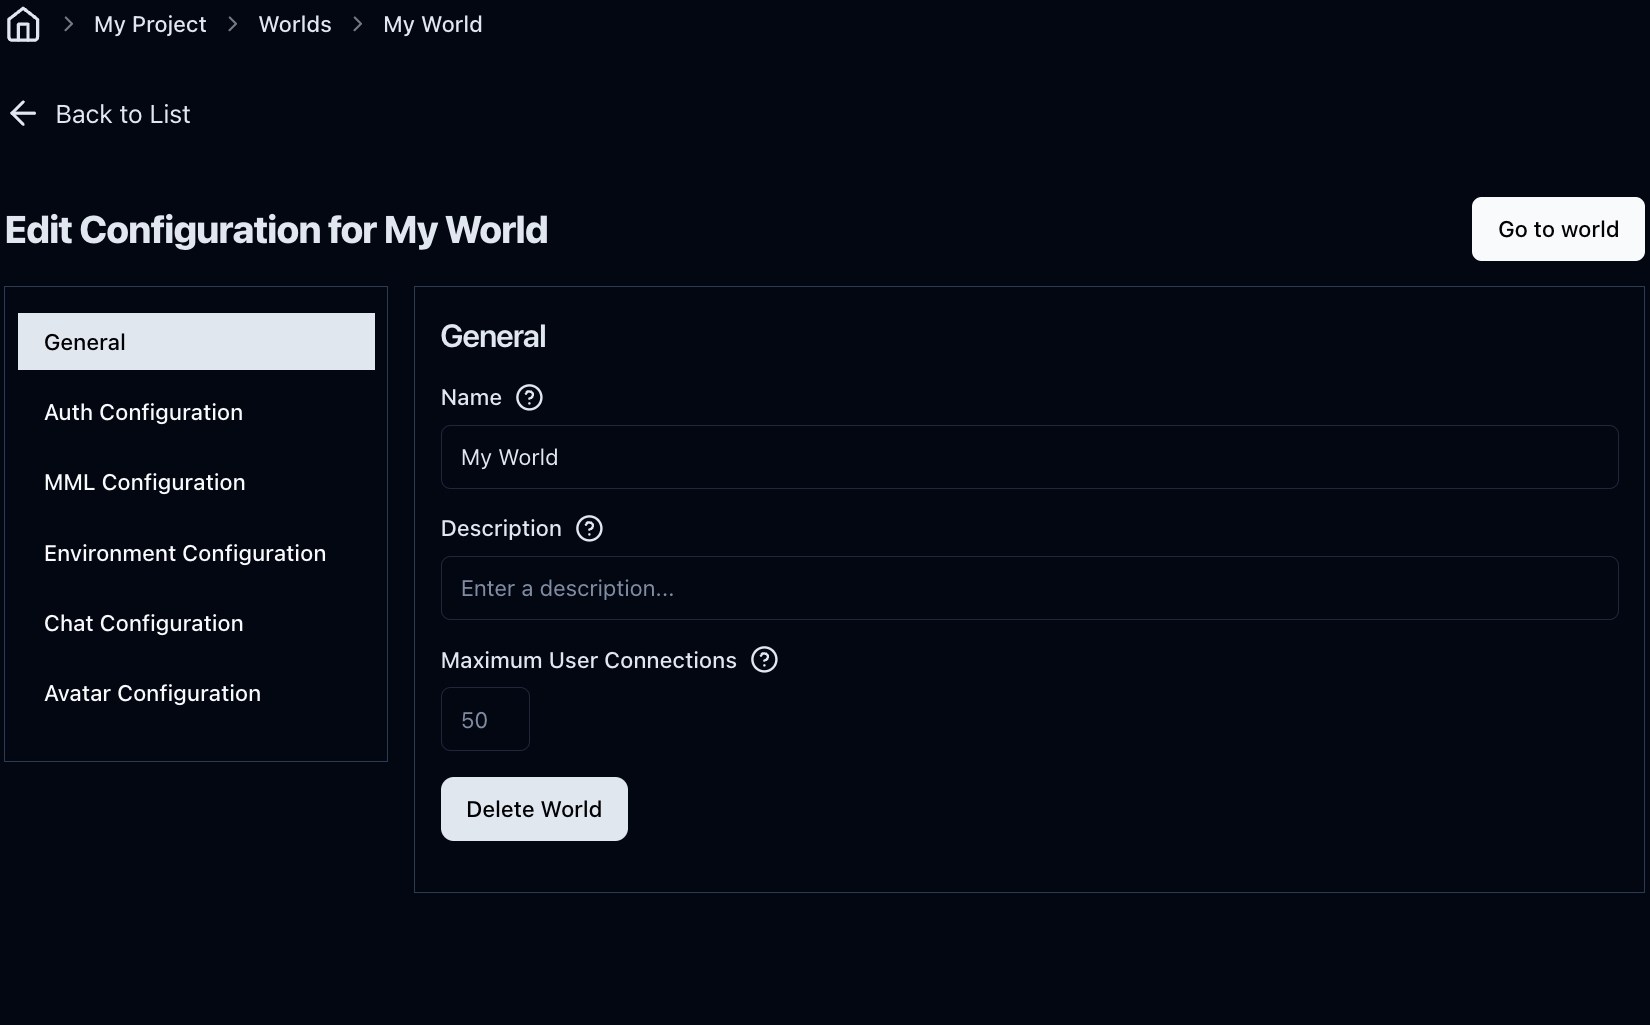
Click the Go to World button, and a new window with your newly created world will appear. Here, you can move through your world using your keyboard. You will find more information on the controls on the Moving your character in the 3D World page. You can share the link with your friends, and they will be able to join you.
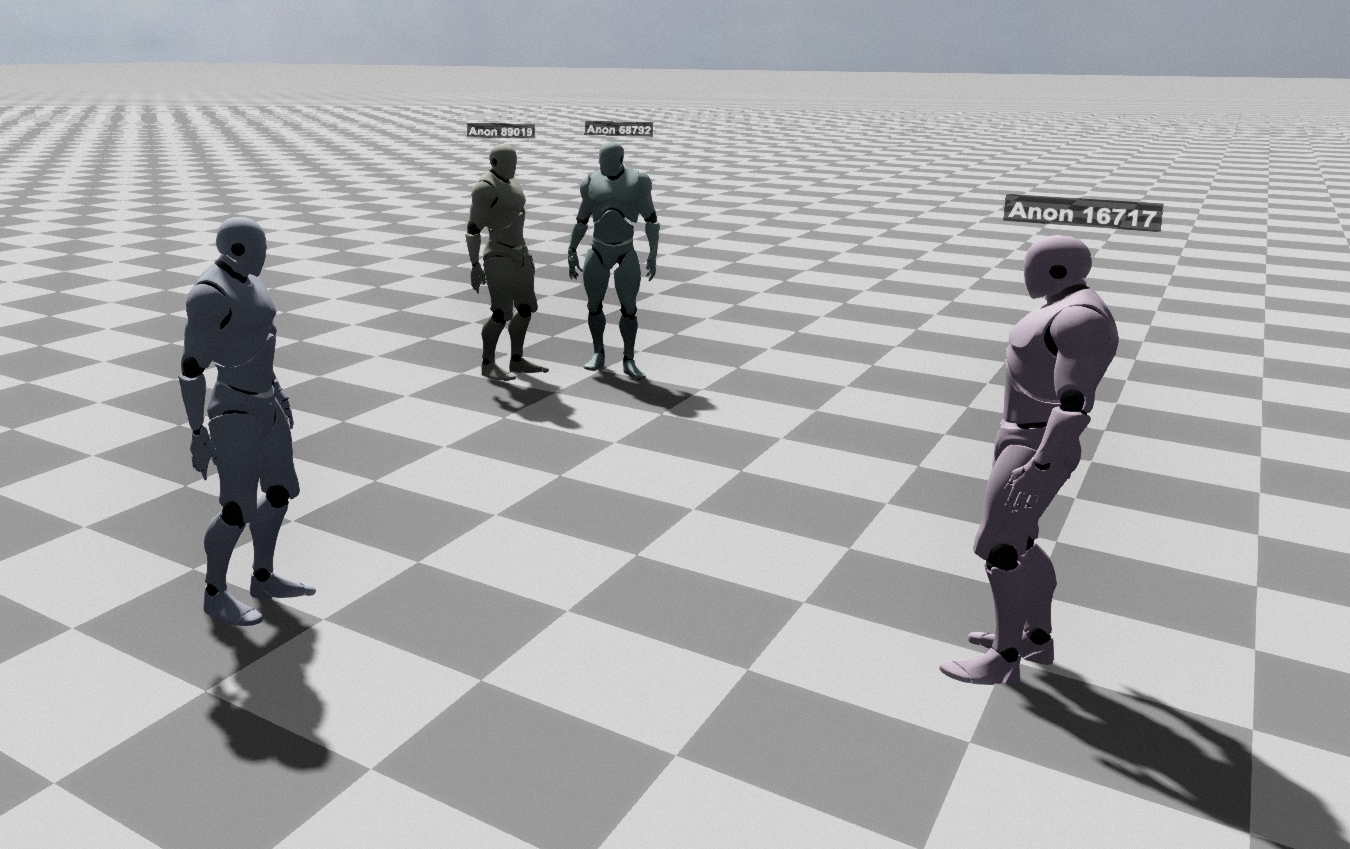
Creating an MML Object
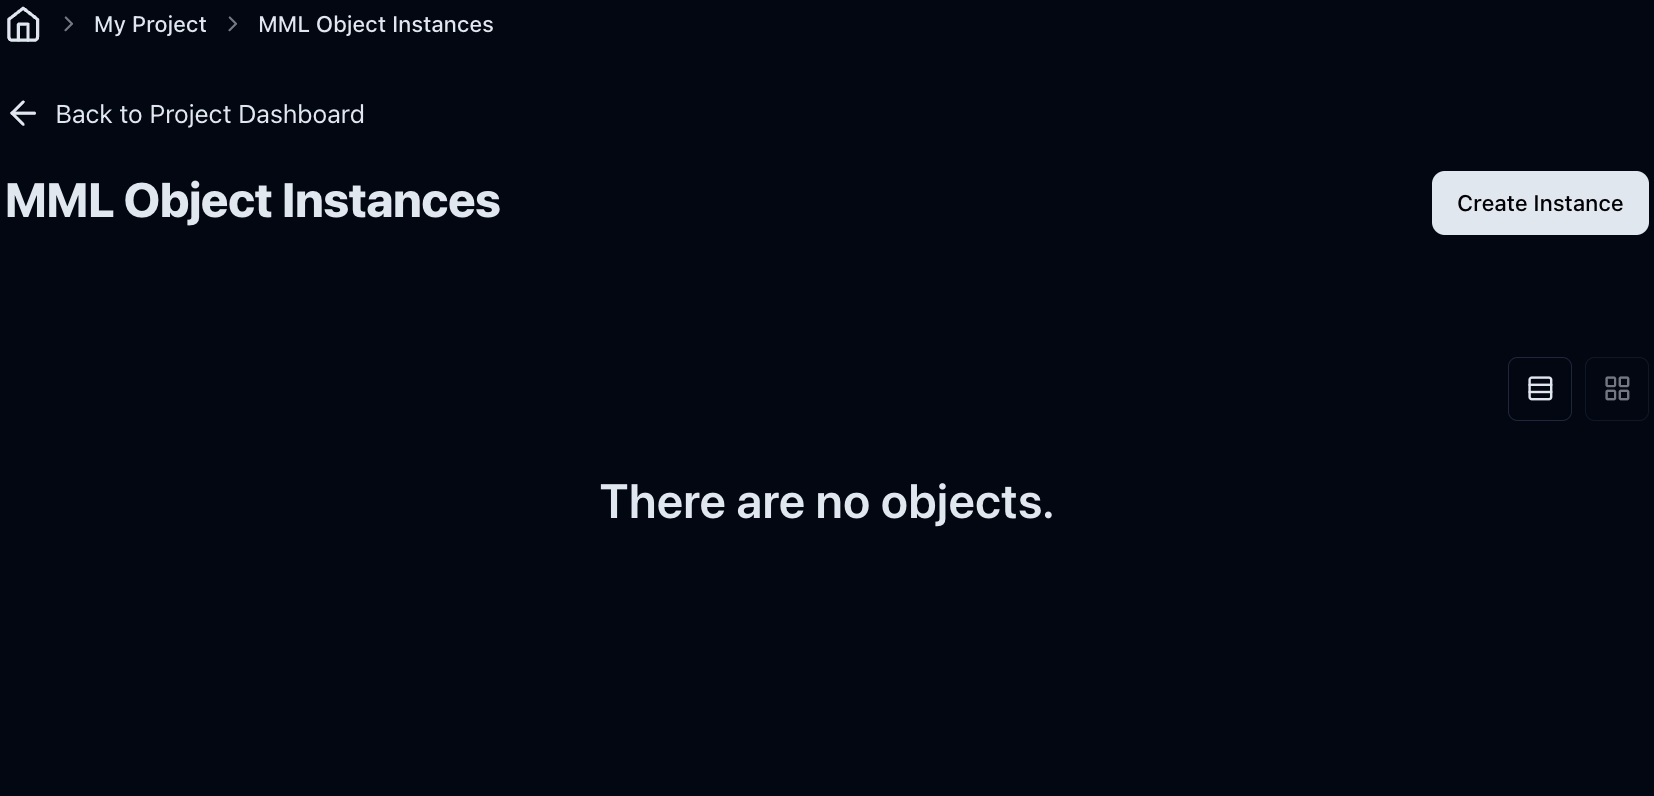
Let's go back to the platform and create a basic MML Object. To do so, click on MML Objects Instances on the menu to the left, then click Create Instance. A modal will appear. Enter your object's name and click on Create.
You will be redirected to your newly created object page. Here, you can change several parameters. The one we're interested in is Source. You can add your MML code there. Copy and paste the code below into the web editor and click Save.
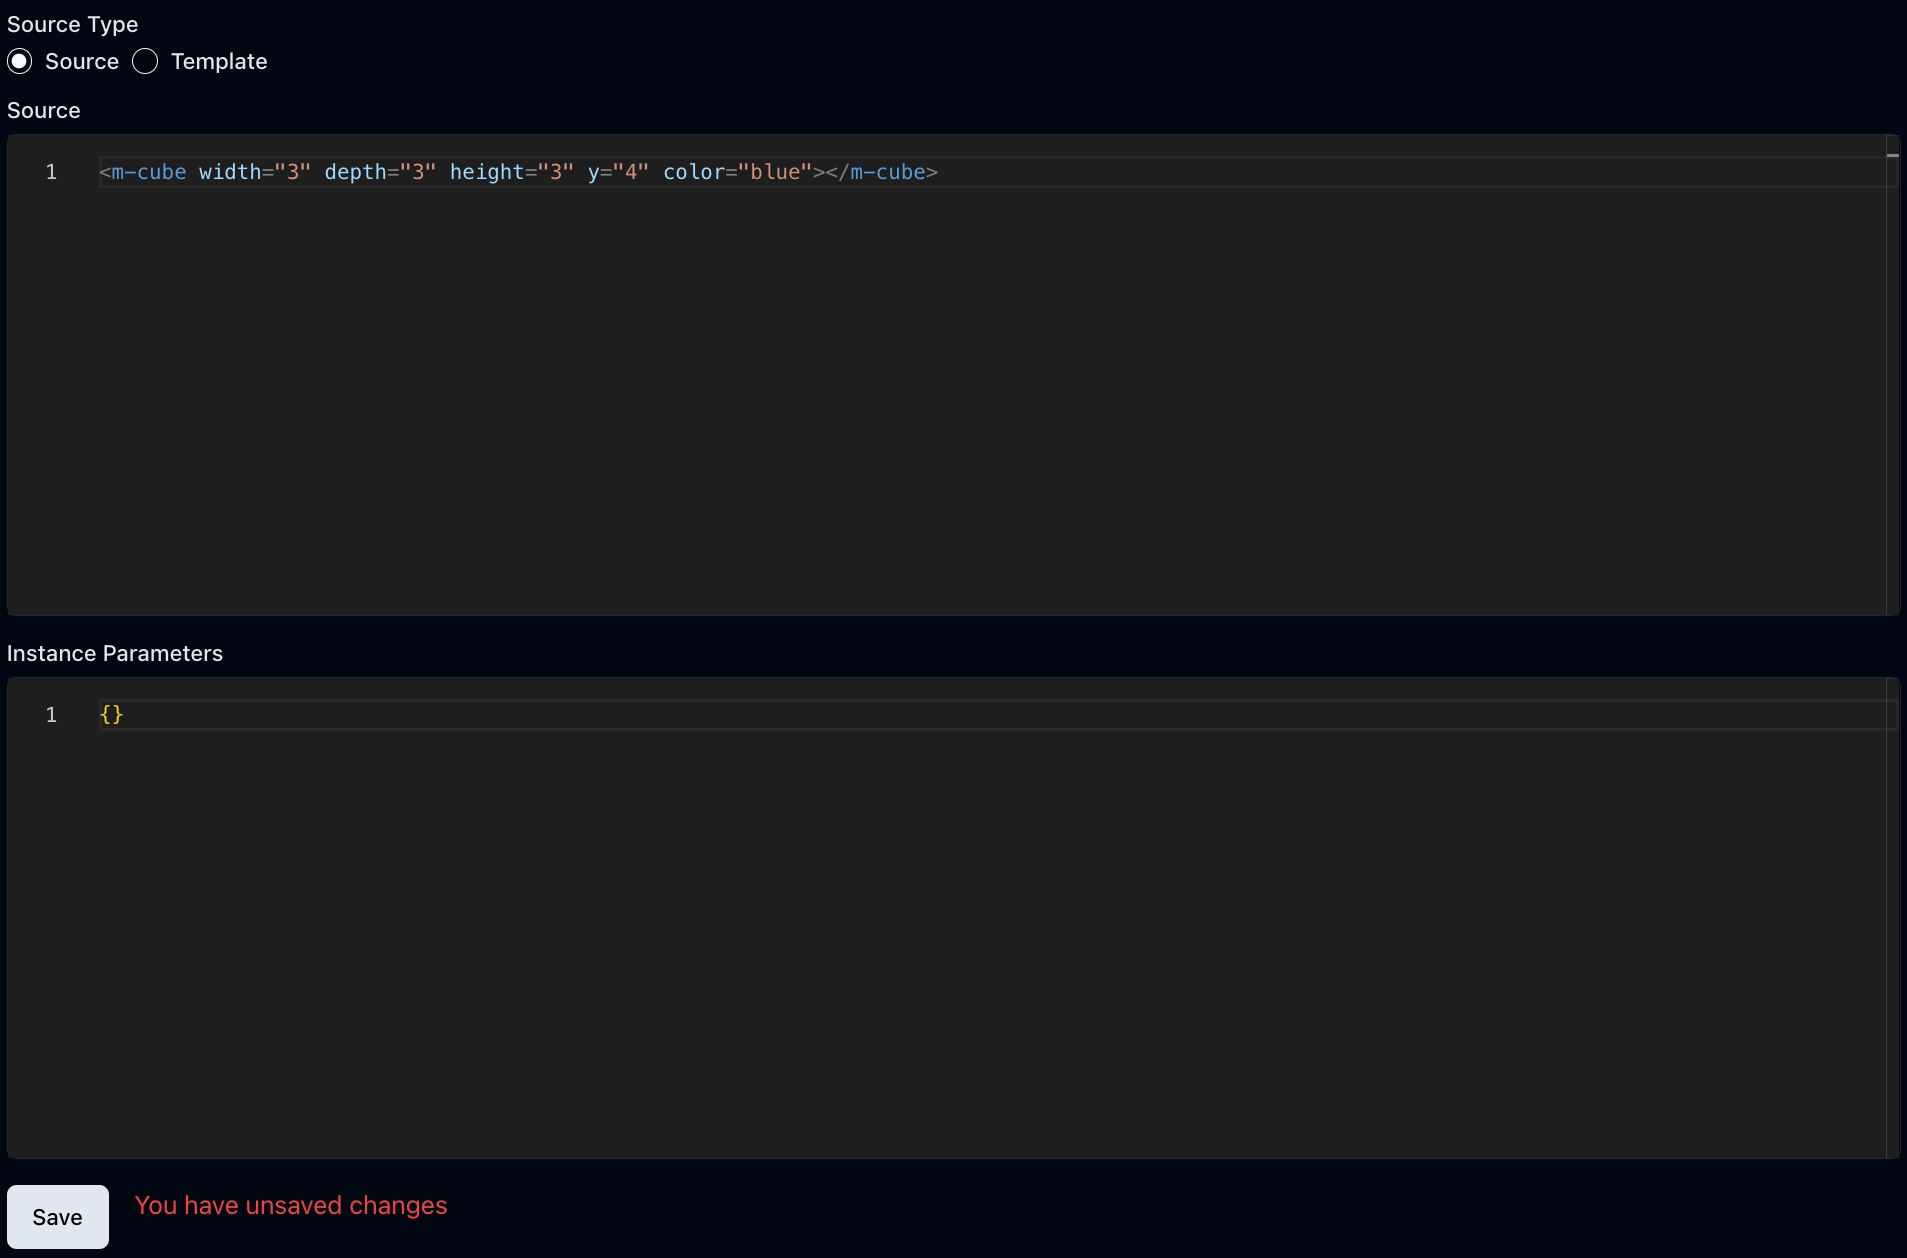
Add an MML Object to your World
In your Object's page, please make sure the Enabled field is toggled and copy the URL below it. The button to the right will automatically copy it to your clipboard.

Let's return to your world configuration. To do so, click Web World Instances in the menu on the left, then click your world's name.
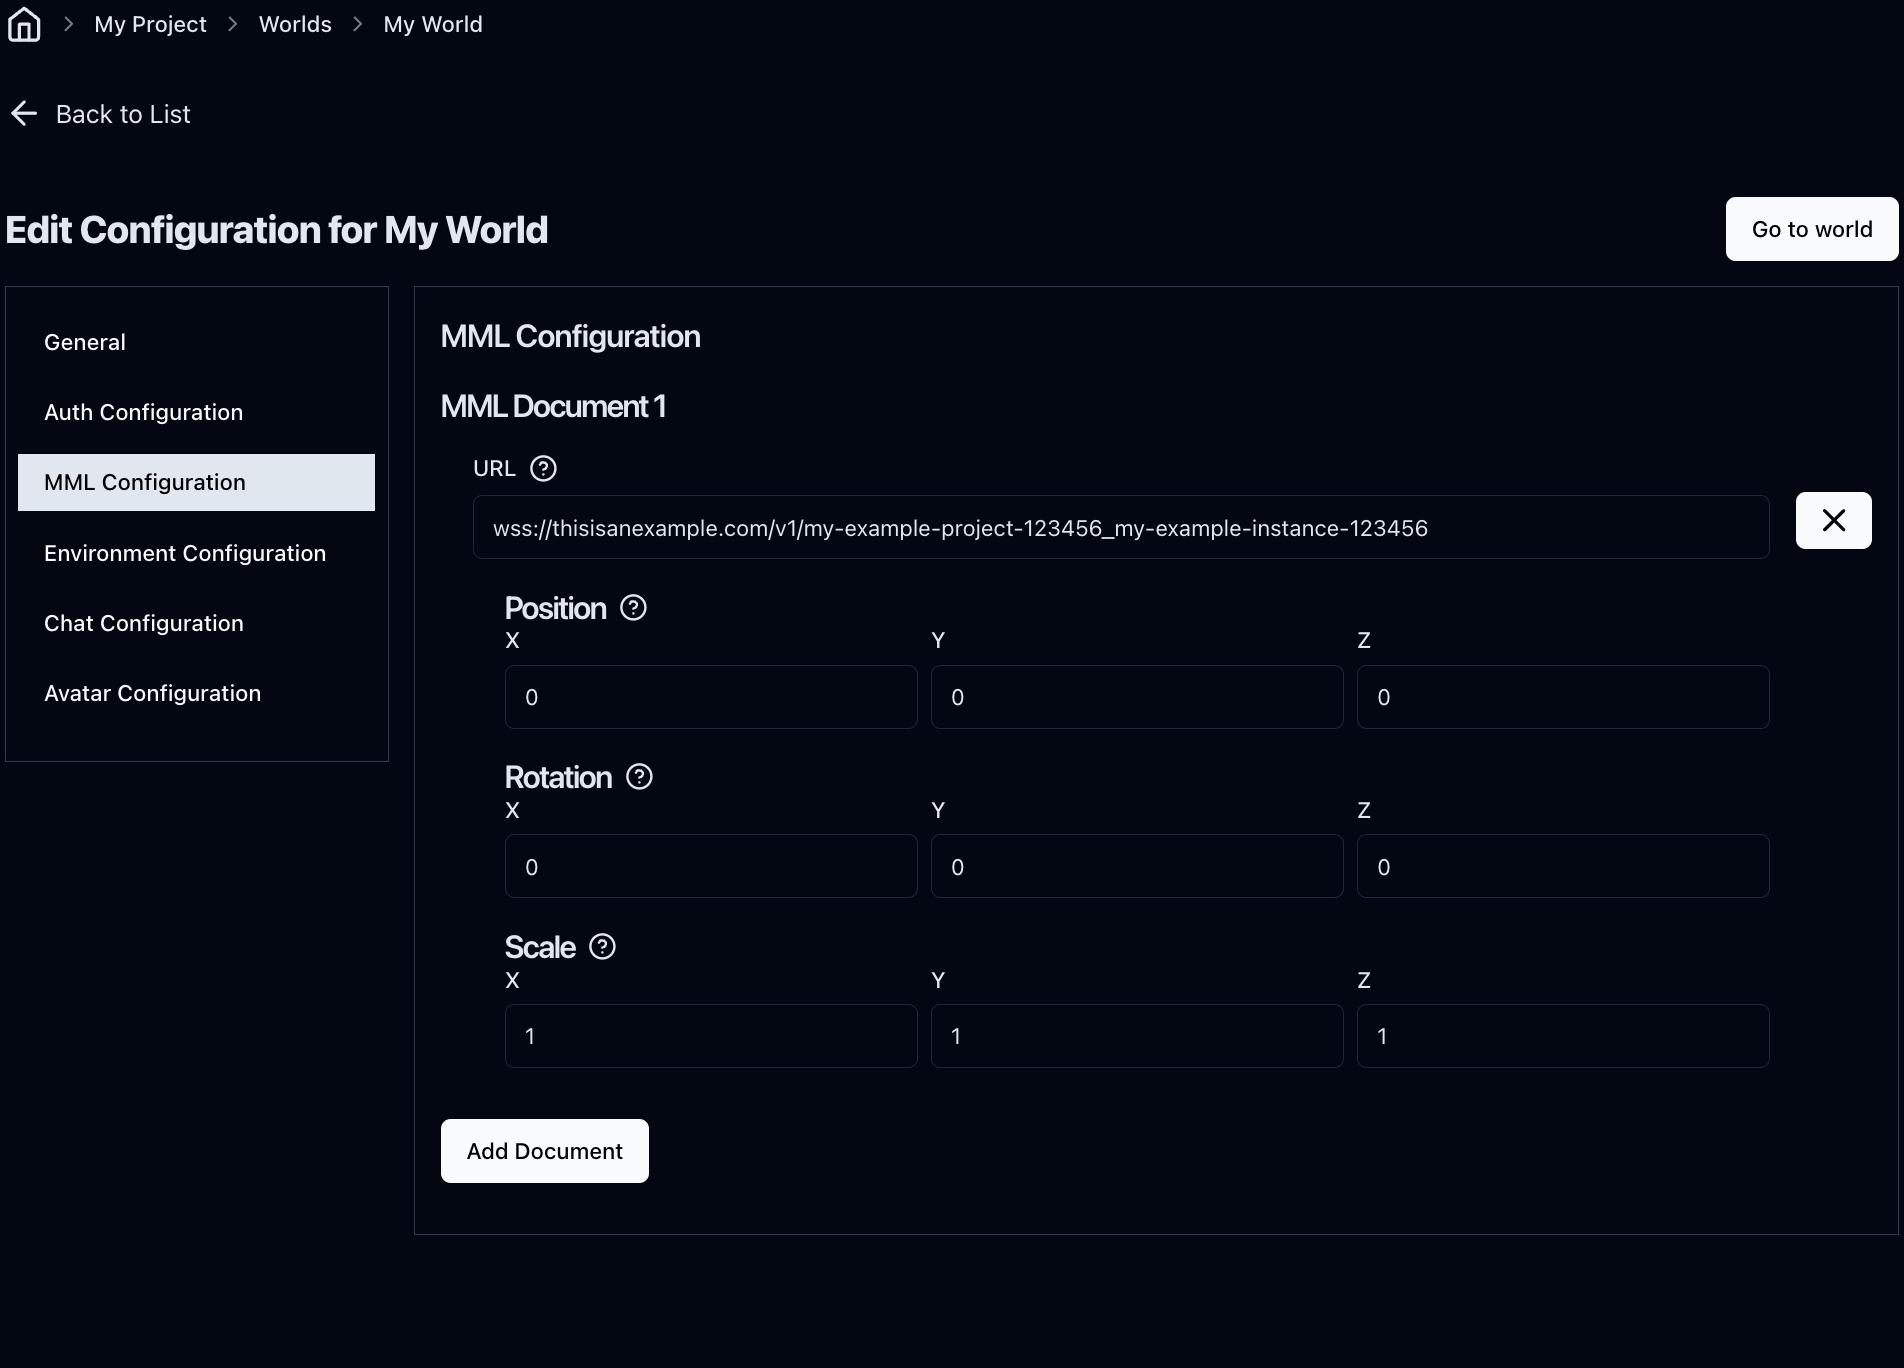
On the configuration page, click MML Configuration from the menu on the left, and finally, Add Document; paste your MML URL in the URL input box and save.
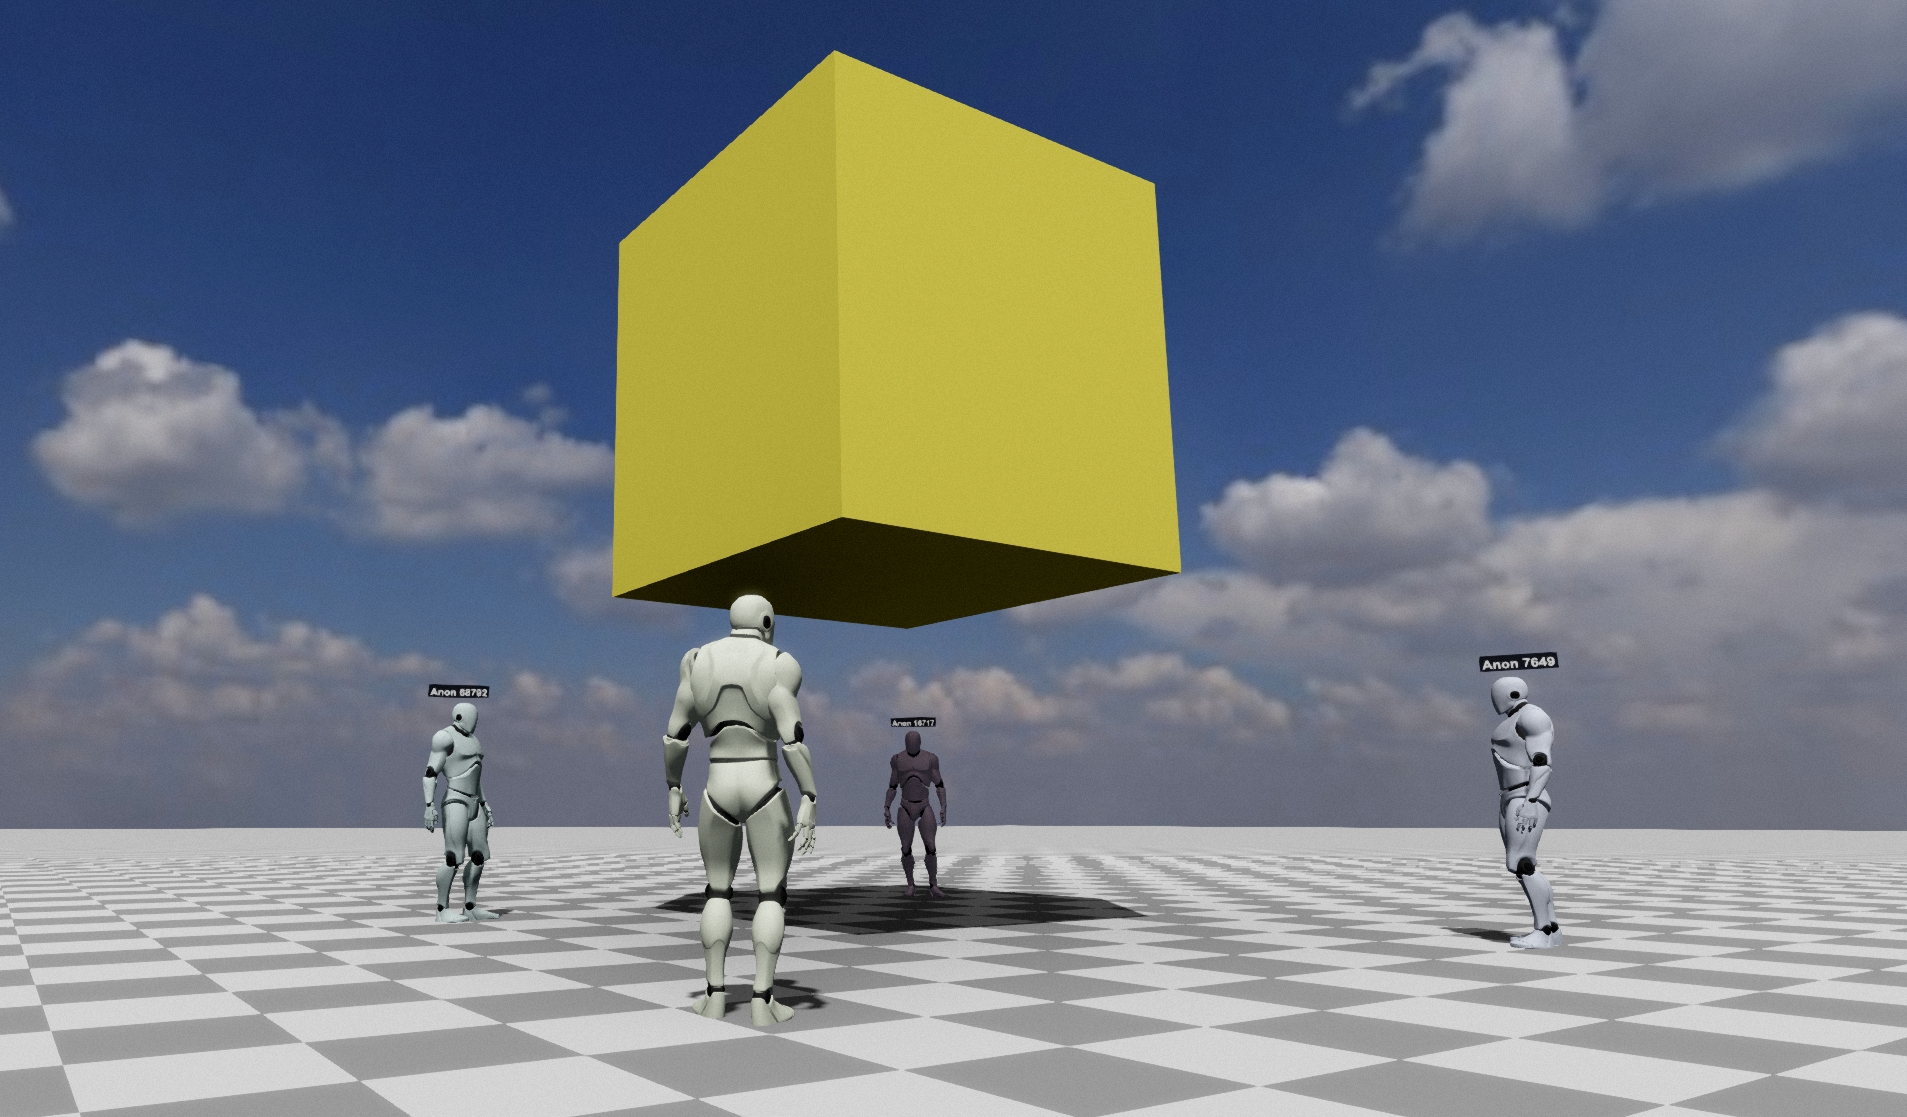
Click Go to World, and you should now see the MML object you just added, a flying blue cube. You can go back to the MML object instance and edit the cube. Let's make it interactive with the code below:
Now, you or anyone else can click on the cube, which will change color in real time for all the users who have joined the world.
Have fun experimenting!
Last updated
Was this helpful?

